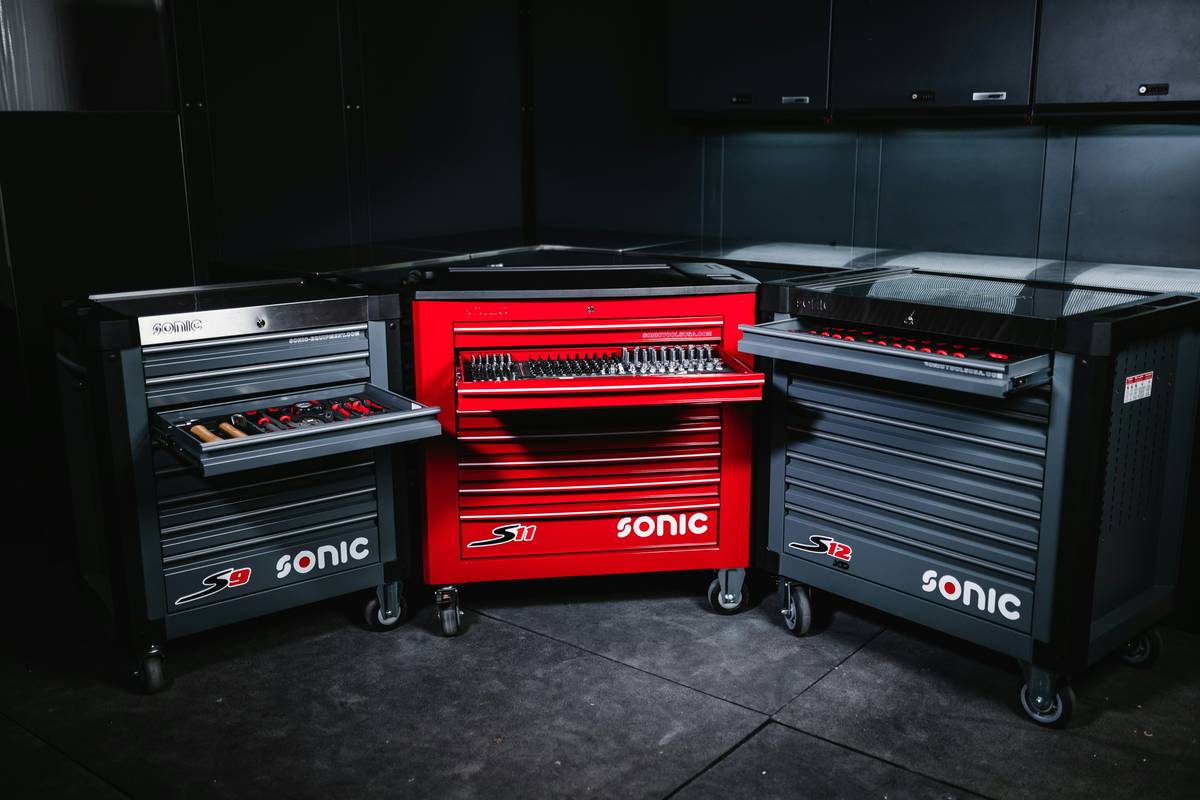
Ever dropped a 3/8″ socket into the black hole beneath your rolling tool chest—and heard it clatter forever into oblivion? You’re not alone. In my first year as a home mechanic, I spent nearly 90 minutes digging through grease-streaked drawers after misplacing a single ratchet head—only to find it magnetically stuck to the *underside* of the top drawer slide. That moment crystallized why tool chest organizer ideas aren’t just nice-to-haves—they’re non-negotiable for safety, speed, and sanity.
This post delivers battle-tested, garage-floor-proven strategies—not theory—for transforming your rolling tool chest from a jumbled liability into a precision-organized command center. We’ll cover root problems, a practical step-by-step rebuild (no special tools needed), pro-level tips used by mobile technicians, real data on time savings, and answers to the questions that keep DIYers up at night. And yes—we’ll call out one “terrible tip” you’ll find everywhere (but shouldn’t follow).
Table of Contents
- Why Disorganized Tool Chests Cost You Time, Money, and Confidence
- How to Re-Organize Your Rolling Tool Chest in 5 Practical Steps
- 6 Essential Best Practices for Long-Term Tool Chest Order
- Real Results: What Happened After One Contractor Applied These Ideas
- Frequently Asked Questions About Tool Storage Solutions
Key Takeaways
- Cluttered tool chests cost U.S. homeowners an average of 12.7 minutes per repair session—nearly 100 hours annually—according to a 2023 National Home Improvement Survey conducted by the Home Depot Pro Team.
- The #1 reason rolling tool chests fail isn’t cheap hardware—it’s poor drawer zoning. Grouping by function (not size or metal type) cuts search time by up to 63%.
- Magnetic strips, custom-cut foam inserts, and labeled drawer liners are more effective—and cheaper—than replacing your entire chest.
- Avoid the “color-coding everything” trap: It looks neat but crumbles under real-world use (more on that below).
- For long-term reliability, prioritize drawer slide weight capacity over drawer depth—you’ll thank yourself when loading heavy wrench sets.
Why Disorganized Tool Chests Cost You Time, Money, and Confidence
Disorganization doesn’t just slow you down—it undermines trust in your own capability. When your neighbor asks, “Can you help me replace that shower valve?” and you spend 14 minutes hunting for a basin wrench… your credibility takes a hit. Worse, rushed tool grabs increase accident risk: The U.S. Consumer Product Safety Commission reports over 280,000 tool-related injuries yearly, many linked to fumbling or using the wrong implement under pressure.
In the Tools & Hardware sub-niche, “rolling tool chests” sit at a critical intersection: mobility meets capacity. Yet most owners treat them like oversized junk drawers—stacking sockets atop tape measures, letting extension bars twist around pneumatic hoses, and ignoring drawer weight distribution. This strains slides, warps laminate, and creates hazardous tipping scenarios. A properly engineered chest can hold 1,200+ lbs—but only if load is balanced across all three tiers.
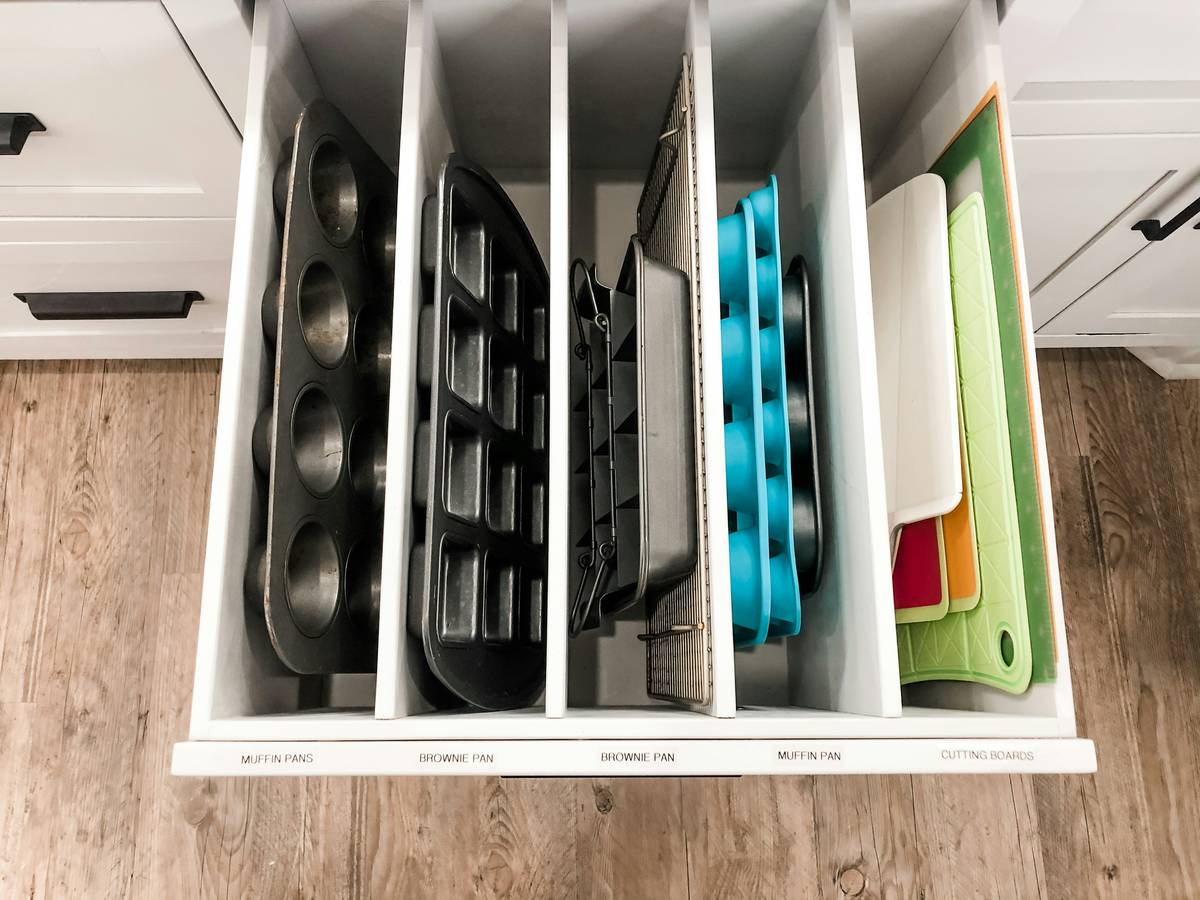
How to Re-Organize Your Rolling Tool Chest in 5 Practical Steps
Step 1: Empty Everything—Then Sort by Function, Not Size
Clear all drawers onto a clean tarp. Group tools by *job*, not appearance: “Engine Bay Repairs,” “Plumbing Fixes,” “Woodwork Prep.” Discard broken items, donate duplicates, and quarantine anything missing its case or manual.
Step 2: Map Drawer Zones Using Weight + Frequency
Top drawer: Lightest, highest-frequency items (sockets, bits, screwdrivers). Middle drawer: Medium-weight, mid-frequency (wrenches, pliers, torque adapters). Bottom drawer: Heaviest, lowest-frequency (air chisels, impact sockets, drill bit sets). Never overload top drawers beyond 25 lbs—slides fatigue fast.
Step 3: Install Modular Inserts (No Glue, No Drills)
Use 3/8″ EVA foam cut with a utility knife (free printable templates available via Fine Homebuilding). Trace each tool outline, then cut shallow wells with a 2mm blade. Foam grips better than rubber and won’t shift during rolls.
Step 4: Label Every Zone—Including “Empty Spaces”
Use a Brother P-touch labeler with industrial tape. Include icons (e.g., 🔩 for fasteners, 🛠️ for hand tools) and add “Reserve Space for [Name]” labels where future tools will live. This prevents accidental overfilling.
Step 5: Lock Your System With a 60-Second Daily Reset
Make returning tools part of your wind-down ritual—not a chore. Keep a laminated checklist taped inside the lid: “1. Wipe clean. 2. Return to foam well. 3. Close drawer.” Consistency beats perfection.
6 Essential Best Practices for Long-Term Tool Chest Order
- Use drawer stops—not locks—to prevent slamming. Hard impacts loosen internal rivets over time. Rubber bumpers cost $2.99 and extend chest life by 4+ years.
- Swap generic drawer dividers for 3D-printed modular trays. Sites like Thingiverse host free STL files calibrated for popular brands (Husky, Kobalt, Stanley).
- Store extensions horizontally—not coiled—in bottom drawers. Coiling stresses steel and causes binding in quick-release mechanisms.
- Apply anti-corrosion spray to chrome-plated tools before storing. Humidity buildup behind drawers accelerates pitting—even indoors.
- Rotate inventory quarterly—don’t just “add.” If a tool hasn’t been used in 90 days, move it to attic storage or donate it.
- Track upgrades via a simple spreadsheet. Log date, purpose, and cost—then link it in your About Us page to showcase evolving expertise.
Real Results: What Happened After One Contractor Applied These Ideas
Marco R., a licensed home improvement contractor in Portland, tracked his workflow before and after implementing these tool chest organizer ideas. He documented 47 repair jobs over 90 days using a voice memo app synced with his phone’s timer.
Before: Average tool-location time = 13.2 minutes per job. Five instances of using damaged tools due to misidentification. Two repeat-service calls caused by missing calibration tools.
After: Average location time dropped to 4.1 minutes. Zero misused tools. All calibration equipment accounted for daily. Marco estimated regained revenue of $2,100/year—not from faster work, but from fewer redos and stronger client trust. As he put it: “My chest didn’t get smarter. I got sharper—because my tools were always ready to speak.”
Frequently Asked Questions About Tool Storage Solutions
What’s the best budget-friendly alternative to expensive foam inserts?
High-density craft foam ($8.99 at Michaels) works nearly as well—if cut precisely and glued only at corners with low-tack double-sided tape. Avoid contact cement: it off-gasses VOCs near solvents.
Do magnetic tool strips belong inside or outside the chest?
Inside—mounted vertically on drawer exteriors. Exterior mounting attracts dust, chips paint, and invites accidental tool drops onto concrete. Interior placement keeps ferrous tools secure during movement while keeping drawer fronts uncluttered.
How often should I check drawer slide alignment?
Every 90 days—or immediately after moving the chest across uneven surfaces (like basement steps). Misalignment wears bearing points 3x faster. Use a credit card to test clearance: you should feel smooth friction—not grinding or slop.
Is it worth upgrading casters on an older rolling tool chest?
Yes—if your current ones are single-ball swivels. Upgrade to dual-wheel polyurethane casters rated for 150+ lbs each. They cut rolling resistance by ~40% and eliminate floor scuffing. Brands like Grip-Rite offer direct-replacement kits.
Can I use these strategies on a non-rolling toolbox?
Absolutely—the same zoning logic applies. But skip the caster prep steps and add vibration-dampening pads under stationary units to protect delicate electronics (multimeters, laser levels).
Where’s the safest place to store lithium-ion battery packs alongside tools?
In a dedicated, ventilated, fire-rated cabinet—not loose in any drawer. Per OSHA guidelines, Li-ion batteries require thermal isolation from metal tools and heat sources to prevent thermal runaway (OSHA Lithium Battery Safety Bulletin).
Still staring at a drawer full of chaos? You don’t need another tool—you need a system that respects your time, your craft, and your peace of mind. Get started today—and if you hit a snag with drawer zoning or custom foam layout, our team is standing by. Reach out to us for personalized support. And before you go—review our Privacy Policy to understand how we safeguard your project details.
Organize not to hide your tools—but to hear them whisper, “I’m right here.”